I found a bunch of old arrows while messing around in Dad's shop a couple months back and have been going back and forth about what to do with them. I finally committed to turning them into a rack for necklaces. If you've visited us before, you may remember my tree branch necklace holder. Apparently, I'm big on necklace display. Not surprisingly, this project requires a few arrows, and unlike me, you might not just stumble across arrows as part of your everyday activities. So, here are several ideas on where to procure arrows of your very own...
For used arrows, I suggest you check garage sales, thrift stores, craigslist, and eBay. For brand new, pristine arrows, you could go the sporting goods or hunting supply store route. And if you happen to live near an abandoned Boy Scout camp, that might also be worth a look. Strike that. Definitely worth a look. Although, I must assume that if you live near an abandoned Boy Scout camp, you've already explored the heck out of that treasure.
After you've found the arrows, assemble the supplies below. Truthfully, finding your arrows was the difficult bit.
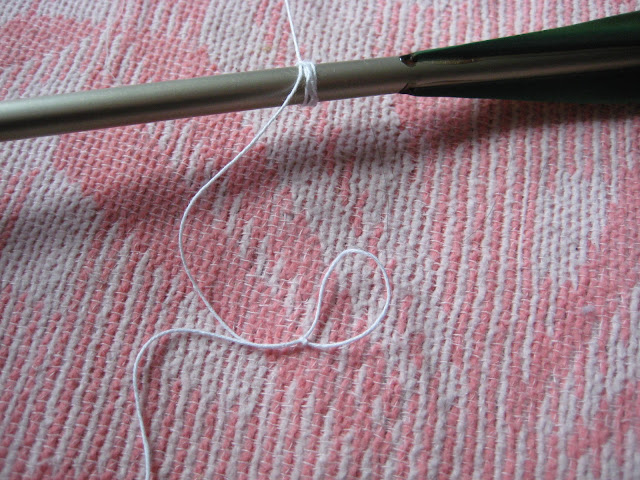
Now for the easy part: the project itself. Tie the string to one arrow. I wrapped and made a knot several times because I liked the idea of a nice chunk of string.
Wrap the long end of the string around the second arrow and gauge your string placement.
You want the ends to line up, so your rack will be balanced.
Measure out the string length between the two arrows. The space between the arrows should be long enough for your necklaces to hang without overlapping the next arrow. Unless you're a fan of overlapping. If so, go for it.
Wrap and knot the string several times on the second arrow.
Tie a slipknot in the string and trim the excess tail.
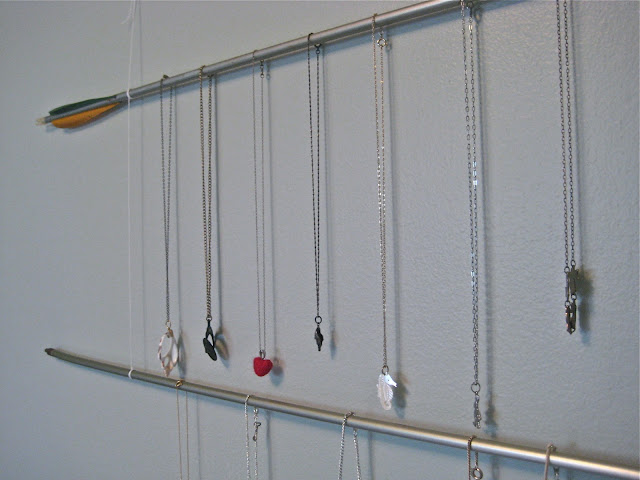
Pound your nails and hang the arrows. Don't worry if things aren't perfect. You can use the slipknots to straighten or adjust the way your arrows hang.
My arrows are a tad crooked and rusty, but I did find them in the barn. And they were free after all.
Attach your necklaces. I hung shorter necklaces from the top arrow and longer ones from the bottom arrow.
And if you're not particularly gaga for necklaces, you could use the arrow rack to display scarves, ribbons, lace, bracelets, anything lightweight, really. You could even clip several small prints or photos to your arrows. The possibilites are nearly endless...as long as you stick to things that can hang. That part is rather crucial.
And what kind of success could I hope to achieve without a visit from the resident expert?
Matilda insists on giving each craft her seal of approval. Today that approval came in the form of her plopping down in the middle of my arrow arranging and happily chewing on a necklace. Rudeness! But what else could I expect from one who must be in charge of everything? It's all part of her fluffy-faced charm.
Happy arrow hunting!


No comments:
Post a Comment